-
×
 CJP Sherbet Lemon Foot Cream 200ml
1 ×
CJP Sherbet Lemon Foot Cream 200ml
1 × -
×
 Halo Create - Crystals - Clear AB Size 3 - 288
1 ×
Halo Create - Crystals - Clear AB Size 3 - 288
1 × -
×
 Bulbs & Roots Developer 40 Vol 1000ml
1 ×
Bulbs & Roots Developer 40 Vol 1000ml
1 × -
×
 The Warehouse - Vitamin Treatment 500ml
1 ×
The Warehouse - Vitamin Treatment 500ml
1 × -
×
 Schwarzkopf Colour Sponge
1 ×
Schwarzkopf Colour Sponge
1 × -
×
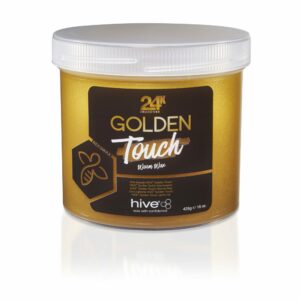 HIVE 24k Collection - Golden Touch Warm Wax 425g
1 ×
HIVE 24k Collection - Golden Touch Warm Wax 425g
1 × -
×
 Hive Credo Cutter Blades (10pk)
2 ×
Hive Credo Cutter Blades (10pk)
2 × -
×
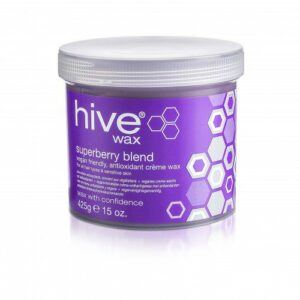 Superberry Blend Antioxidant Creme Wax 425g
1 ×
Superberry Blend Antioxidant Creme Wax 425g
1 × -
×
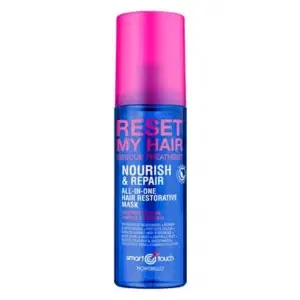 Smart Touch Reset My Hair 150ml
1 ×
Smart Touch Reset My Hair 150ml
1 × -
×
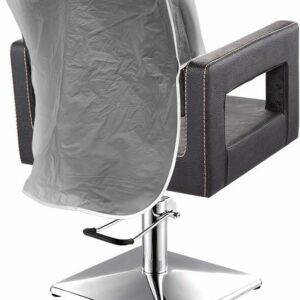 PVC Chair cover - CLEAR - 20"
1 ×
PVC Chair cover - CLEAR - 20"
1 × -
×
 Hive Tea Tree Wax 425g
1 ×
Hive Tea Tree Wax 425g
1 × -
×
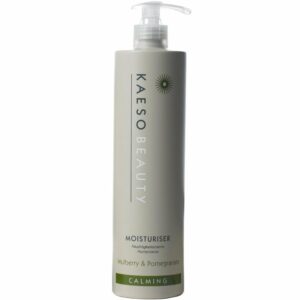 Kaeso Calming Moisturiser 495ml
1 ×
Kaeso Calming Moisturiser 495ml
1 × -
×
Bulbs & Roots Developer 10 Vol 1000ml
1 ×
-
×
 Kaeso Calming Toner 495ml
1 ×
Kaeso Calming Toner 495ml
1 × -
×
 Kaeso Rebalancing Exfoliator 245ml
3 ×
Kaeso Rebalancing Exfoliator 245ml
3 × -
×
 Montibello Decode Texture Mirror 90ml
1 ×
Montibello Decode Texture Mirror 90ml
1 × -
×
 Self heating setting masque 30g
1 ×
Self heating setting masque 30g
1 × -
×
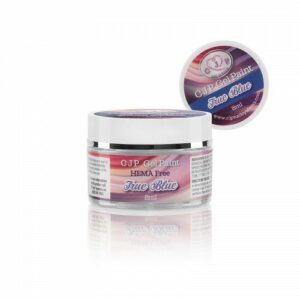 CJP Gel Paint True Blue 8ml
1 ×
CJP Gel Paint True Blue 8ml
1 × -
×
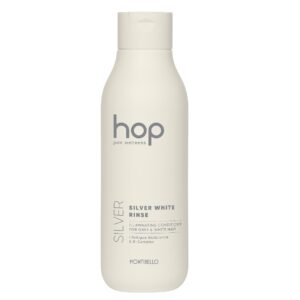 HOP Silver White Rinse 750ml
1 ×
HOP Silver White Rinse 750ml
1 × -
×
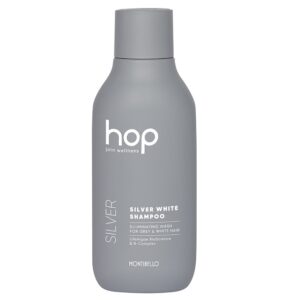 HOP Silver White Shampoo 300ml
1 ×
HOP Silver White Shampoo 300ml
1 × -
×
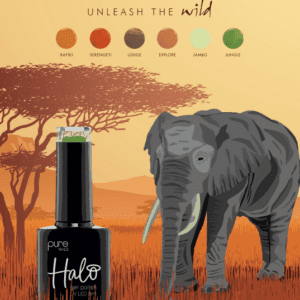 Halo Safari Collection
1 ×
Halo Safari Collection
1 × -
×
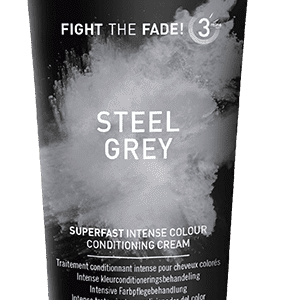 OSMO Colour Revive Steel Grey 225ml
1 ×
OSMO Colour Revive Steel Grey 225ml
1 × -
×
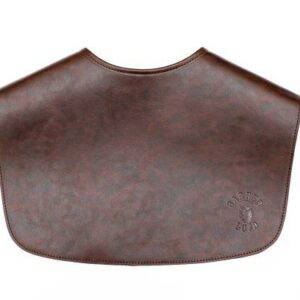 Barber Loco Leather Cutting Collar
1 ×
Barber Loco Leather Cutting Collar
1 × -
×
 Kodo 24 Heat Retainer 32mm
1 ×
Kodo 24 Heat Retainer 32mm
1 × -
×
 Simply Foot Spray 490ml
1 ×
Simply Foot Spray 490ml
1 × -
×
 Efalock Universal Finger Rings
1 ×
Efalock Universal Finger Rings
1 × -
×
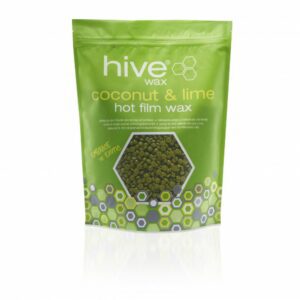 Coconut & Lime Hot Film Wax Pellets 700g
1 ×
Coconut & Lime Hot Film Wax Pellets 700g
1 × -
×
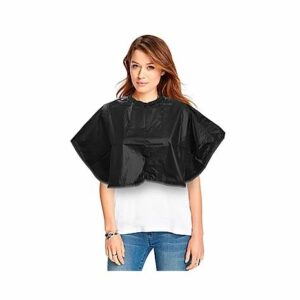 DMI PVC Shoulder Cape Black
1 ×
DMI PVC Shoulder Cape Black
1 × -
×
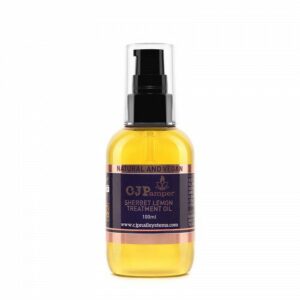 CJP Sherbet Lemon Massage Oil 100ml
1 ×
CJP Sherbet Lemon Massage Oil 100ml
1 × -
×
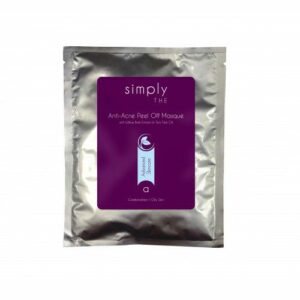 Anti-acne peel off masque 30g
1 ×
Anti-acne peel off masque 30g
1 × -
×
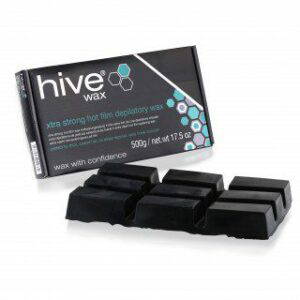 Hive X-Strong Hot Film Wax Block
1 ×
Hive X-Strong Hot Film Wax Block
1 × -
×
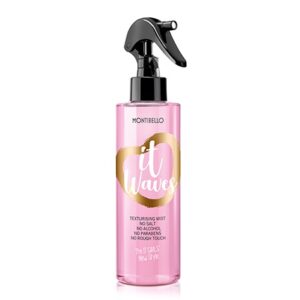 Montibello It Waves Spray 200ml
1 ×
Montibello It Waves Spray 200ml
1 × -
×
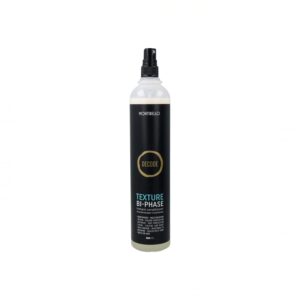 Montibello Decode Texture Bi-Phase Conditioner 400ml
1 ×
Montibello Decode Texture Bi-Phase Conditioner 400ml
1 × -
×
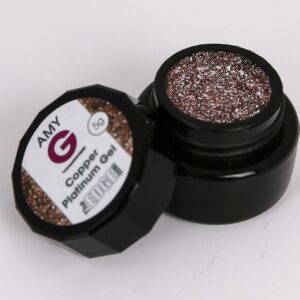 Amy G Platinum Gel - Copper
1 ×
Amy G Platinum Gel - Copper
1 × -
×
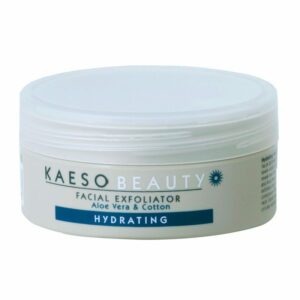 Kaeso Hydrating Exfoliator 295ml
1 ×
Kaeso Hydrating Exfoliator 295ml
1 × -
×
 Kaeso Calming Mask 245ml
1 ×
Kaeso Calming Mask 245ml
1 × -
×
 Indola Repair Shampoo 300ml
1 ×
Indola Repair Shampoo 300ml
1 ×


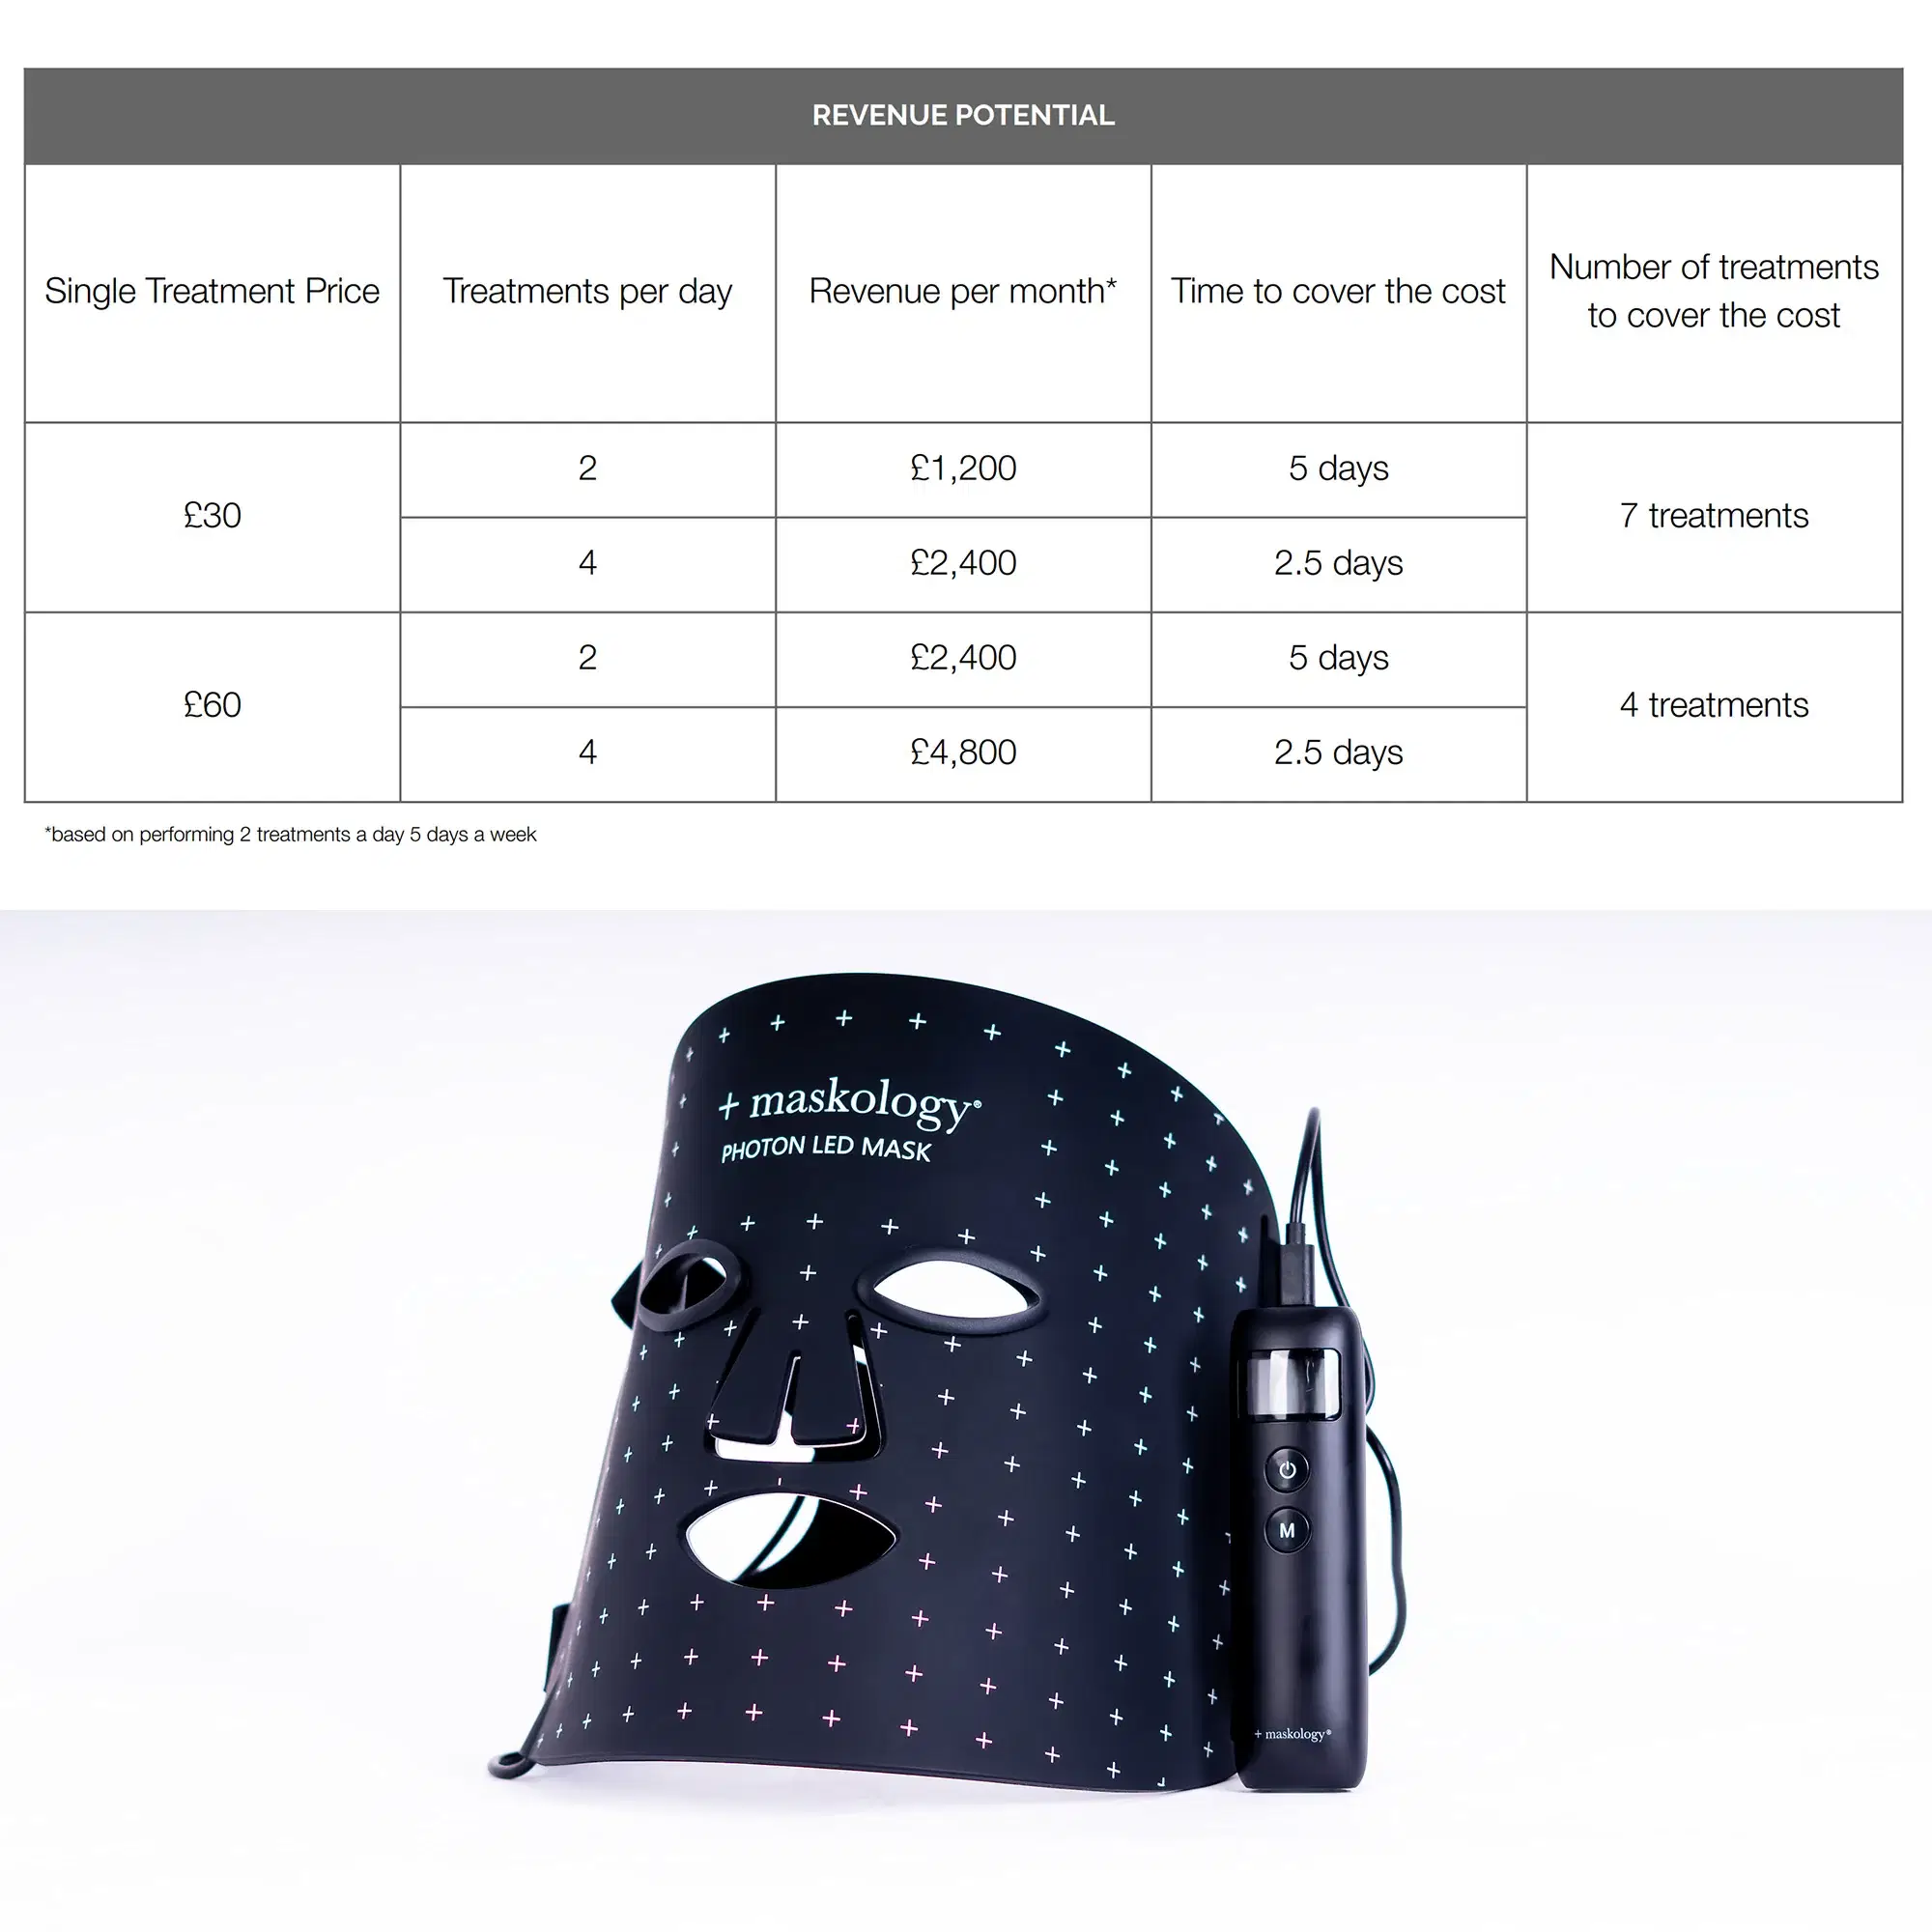

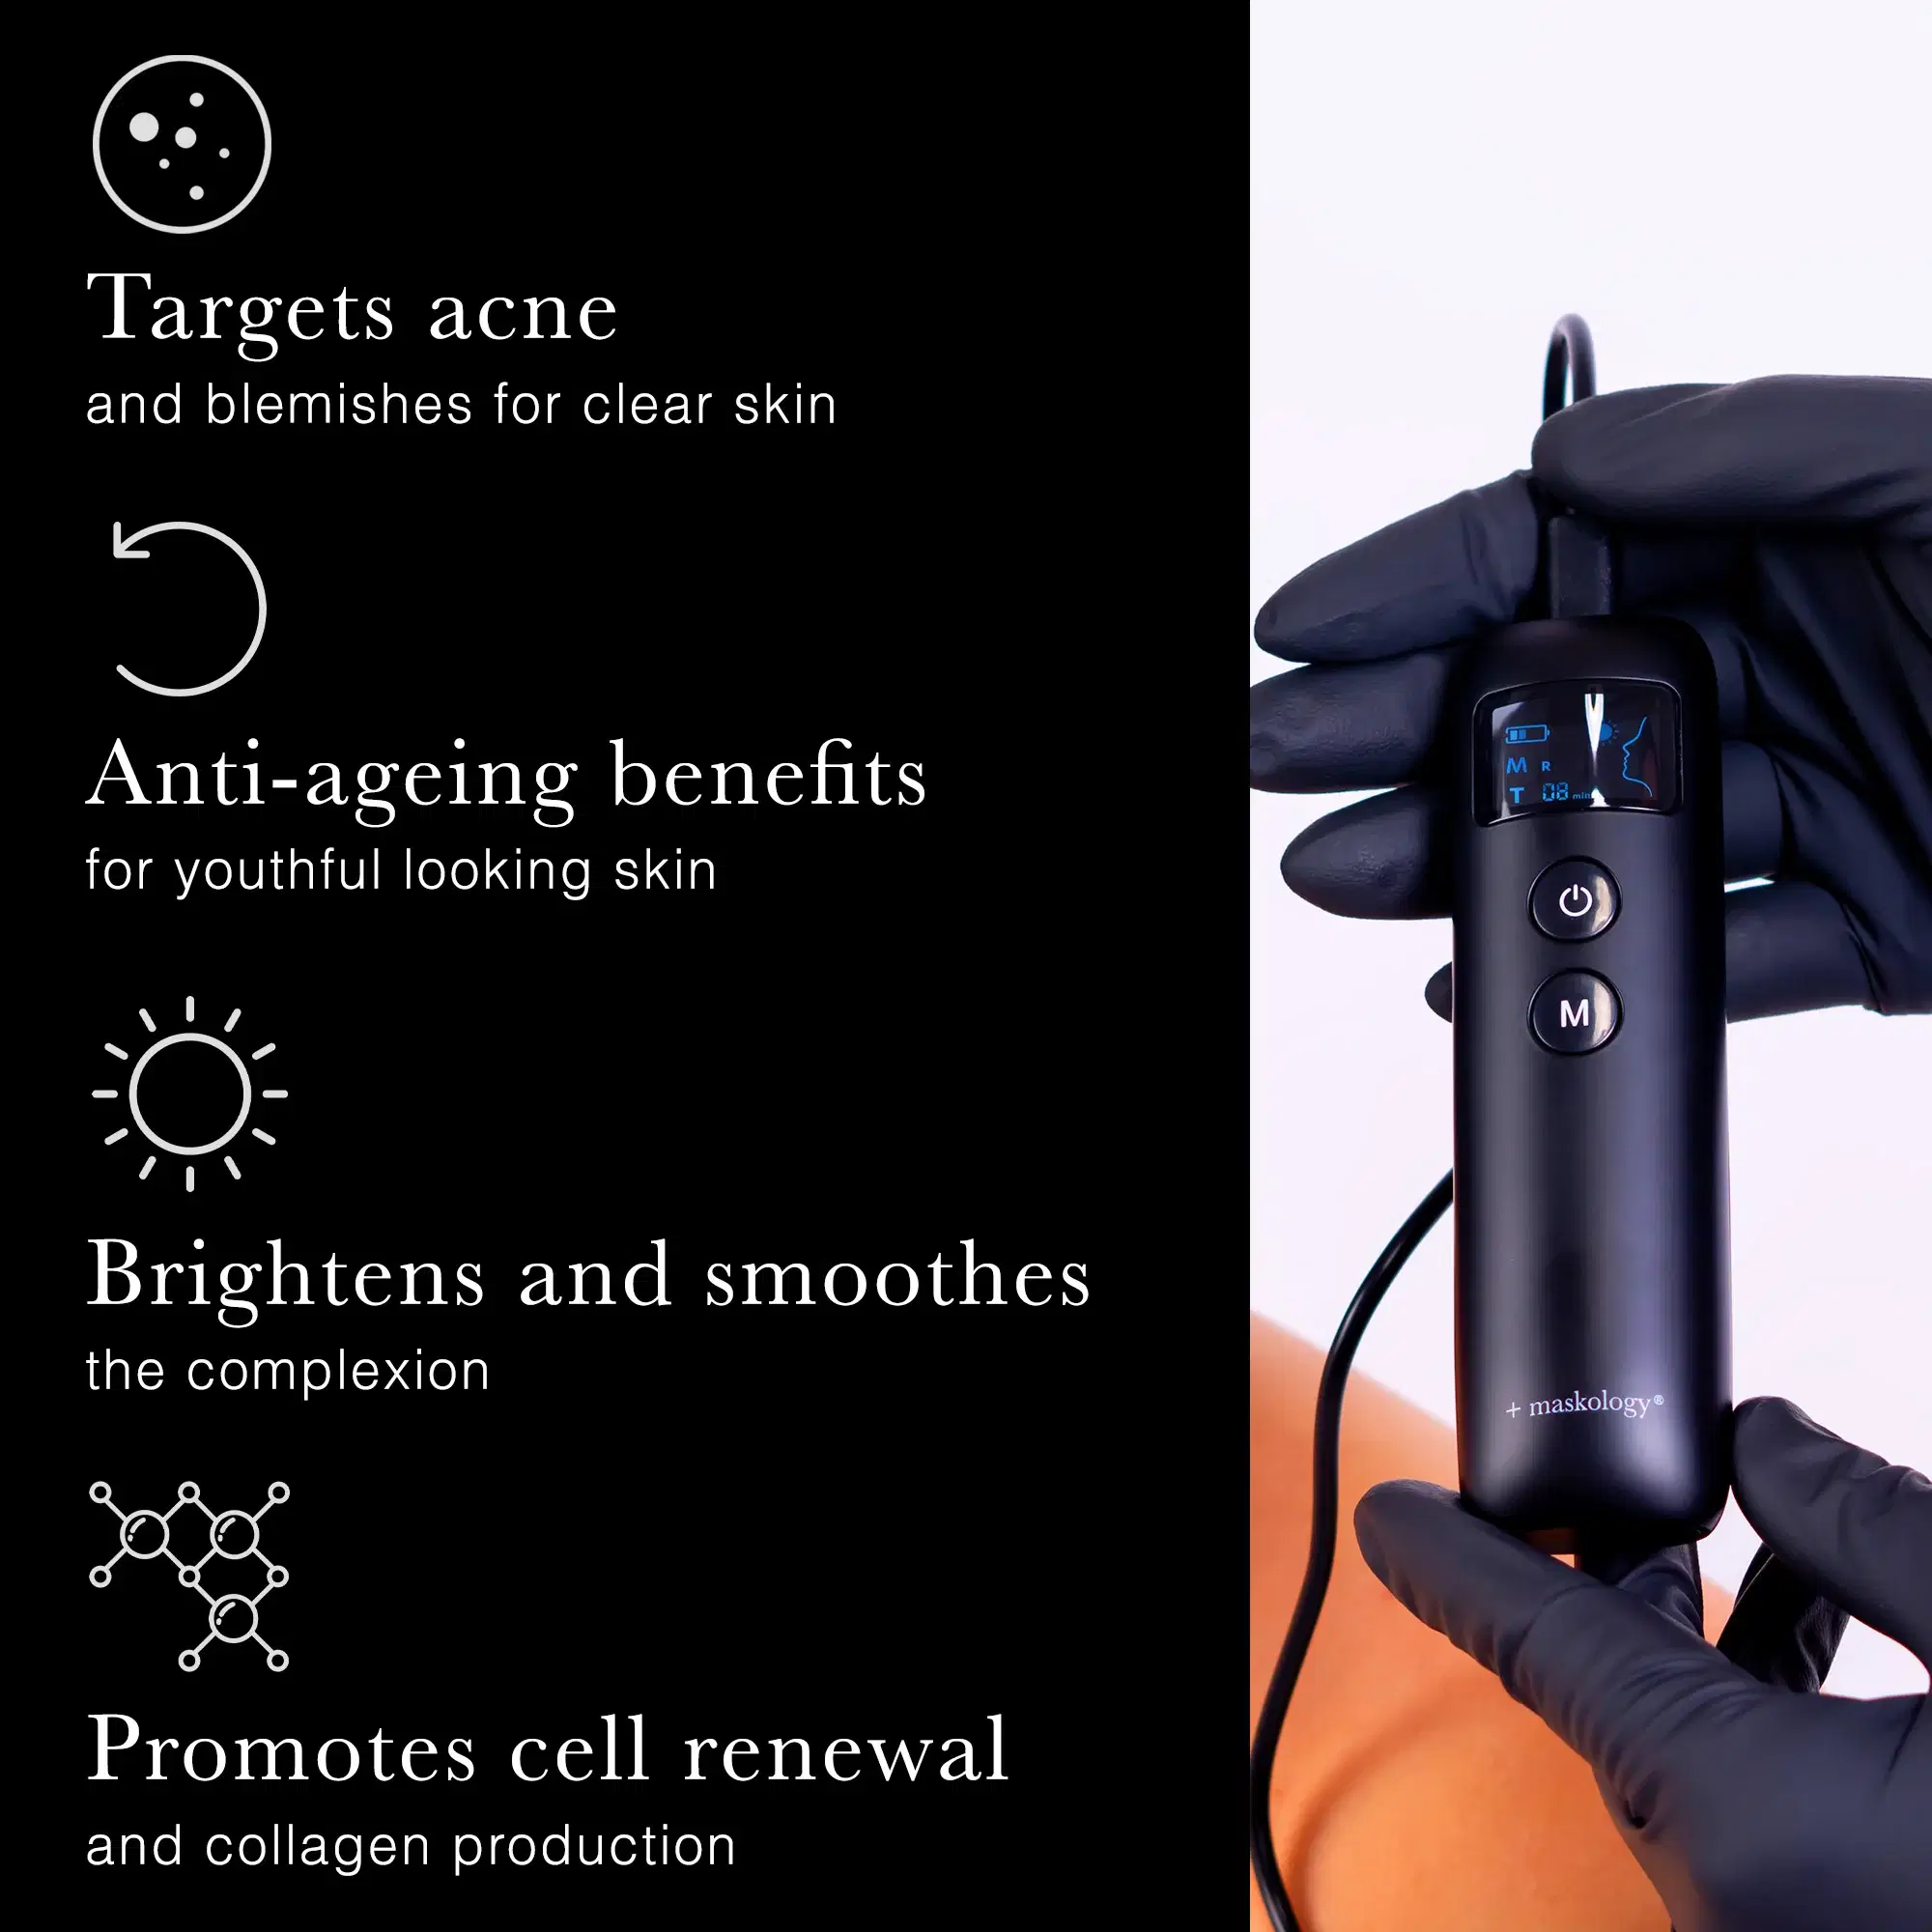


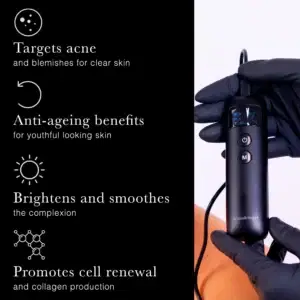
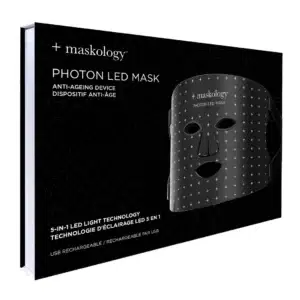


Elevate your skincare treatments with the +maskology PHOTON LED Mask. This 5 in 1 treatment technology is the perfect addition to your facial offering – giving you the ability to provide your clients with 5 different treatments using just one tool.
- Targets acne and blemishes for clear skin
- Anti-ageing benefits for youthful looking skin
- Brightens and smoothes the complexion
- Promotes collagen production and cell renewal
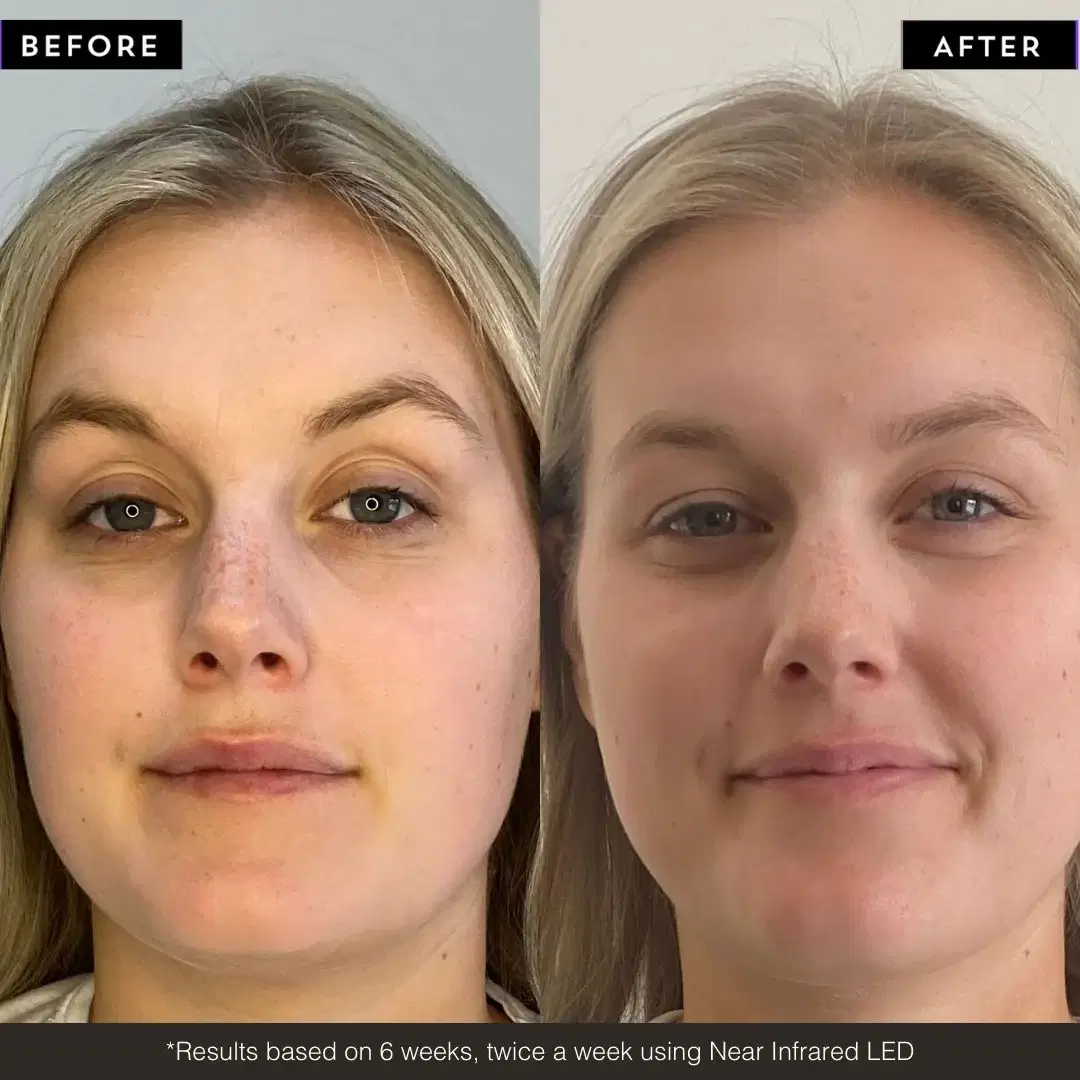
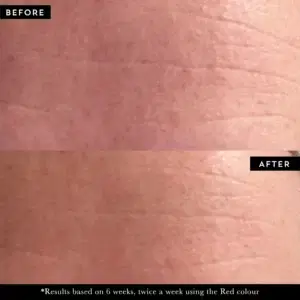
The +maskology PHOTON LED Mask uses 108 light beds and 5 LED light therapy colours to deliver high density, high intensity energy to the skin.
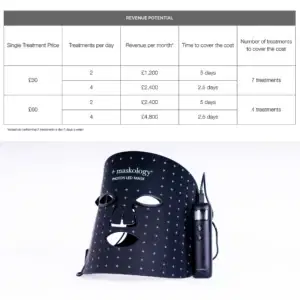
This tool is a great way to maximise on treatment time, whilst also ensuring return on investment. LED Facial Treatments are averagely priced from £30-£60 and we recommend 2 treatments per week per client for the best results. If your business were to average 10 treatments per week, you could look to see a return of up to £2,400 in revenue per month.
Light Therapy Wave Lengths
- Red light: 630nm
- Blue light: 450nm
- Yellow light: 580nm
- Infrared light: 830nm
- Purple light: 560nm
Power Rating
- 50mW/cm²
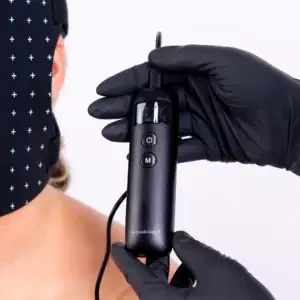
Fully charge the handheld controller before first use.
Using the velcro bands, attach the straps to the side of the mask and insert the eye shields.
Plug the cable into the port of the handheld controller.
Cleanse your skin and dry with a towel.
Hold the mask close to your face to position for best fit. Using the straps, fasten the velcro at the back of your head. You can adjust the bands to ensure a snug fit.
You want to ensure that the eye shields are secure to your face to prevent light leak.
Press and hold the power button for 2 seconds to turn on the mask.
Press the power button to select a different mode and use the time selection button to choose your treatment time. You can select 10, 20 or 30 minutes.
When the time has elapsed, the device will switch itself off. If you want to turn off the device during the process , hold the power button for 2 seconds.
Finish your skincare routine with a sheet mask, serum, moisturiser or oil.
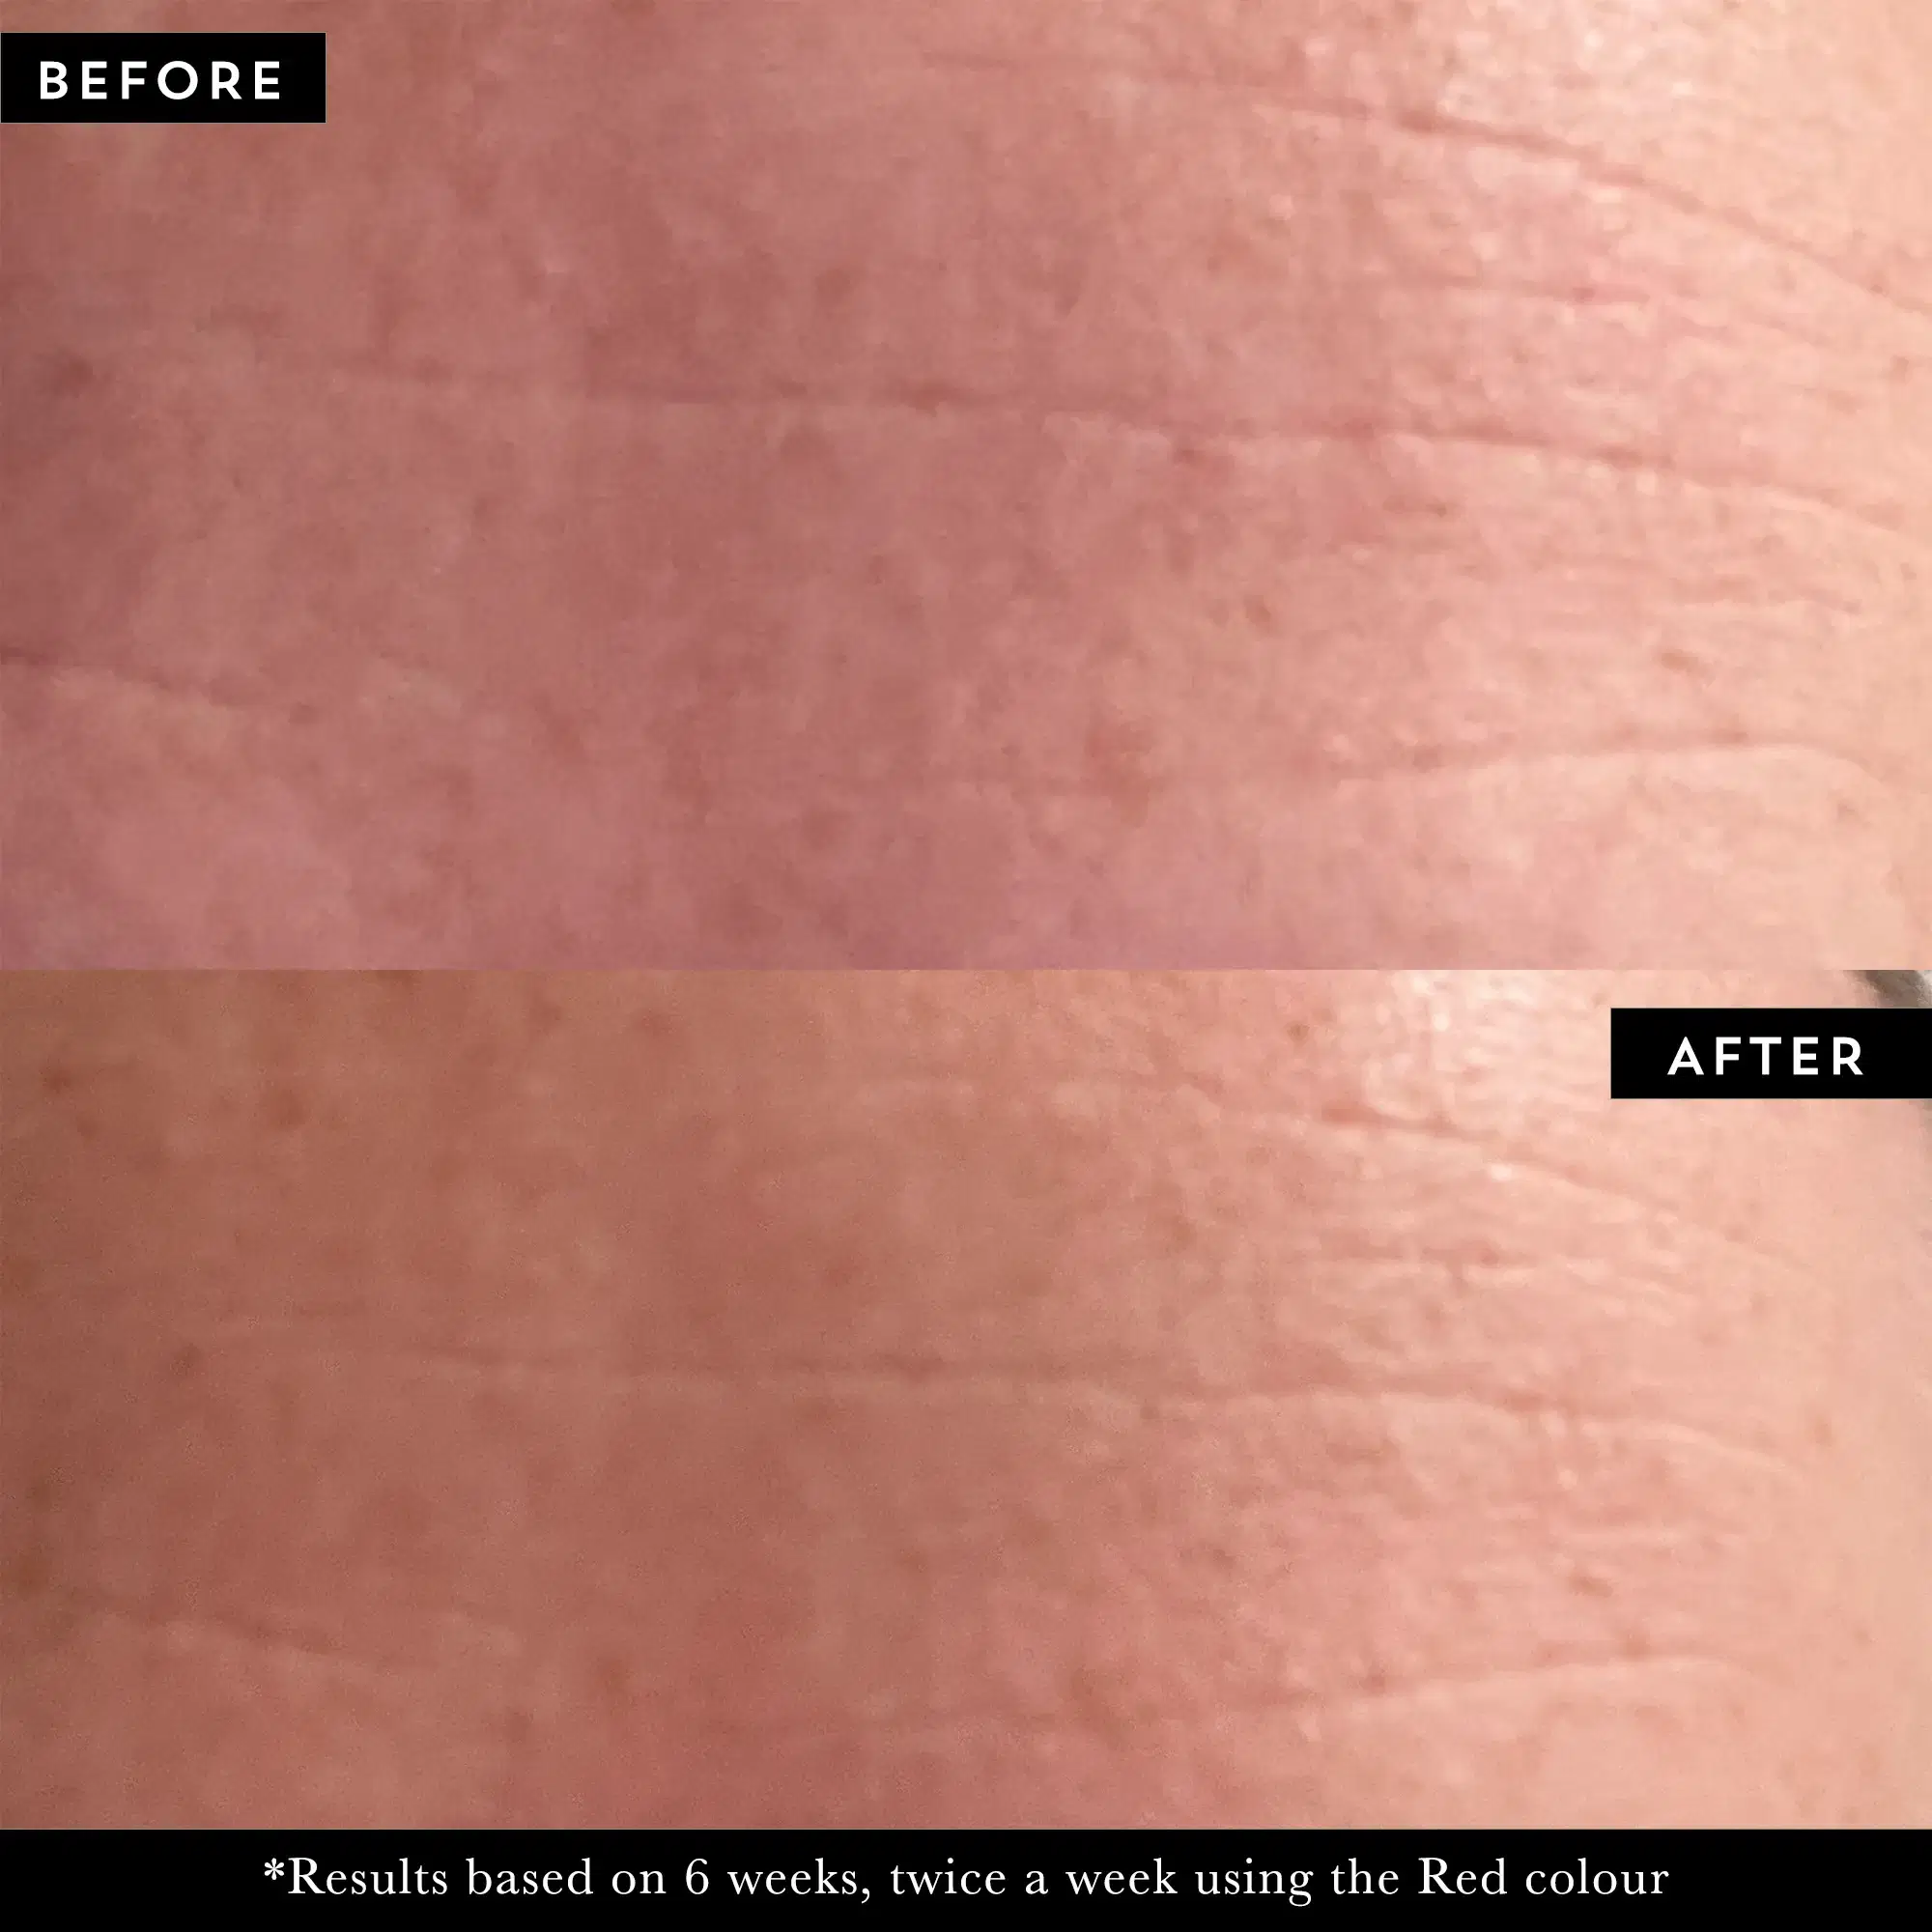
Repeat 3-5 times per week for the best results.
Charging
Connect the controller to an adapter plug using the USB charging cable.
Plug into the power supply. The screen will light up and the battery symbol will scroll while charging.
Charging time is 2.5 hours.
A solid battery symbol represents a full charge. Do not overcharge – disconnect from the power supply when this shows.
If fully charged the controller time is around 1 hour for blue light or red light. If using the Infrared light or purple light mode, the battery lift time is around 30-40 minutes.